A good VPN for Mac covers every app on your machine, lets you pick a server country and keeps a MacBook protected as it hops between networks. Atomic VPN is our top pick on price and privacy. It costs $2 a month on the yearly plan, has an audited no-log policy and runs on both Apple Silicon and Intel Macs. This guide starts with what your Mac can already do on its own, then covers five picks and a five-minute setup on your Mac.
What your Mac can already do without a VPN
Before you pay for anything, it helps to know what macOS gives you for free. There are two built-in options. Neither one replaces a VPN for Mac.
iCloud Private Relay
If you pay for iCloud+, your Mac already has iCloud Private Relay. It sends your Safari traffic through two separate relays, one run by Apple and one by a partner. As a result, no single company sees both your IP address and the sites you visit. It also protects your DNS lookups and some unencrypted traffic from apps.
The limits show up quickly, though. Private Relay works in Safari, not in Chrome, Firefox or most other apps. You can't pick a country either. You can only keep your general location or switch to a broader one within your country and time zone. On top of that, it isn't available in every country. It's included with every paid iCloud+ plan, the cheapest of which costs $0.99 a month in the US.
The built-in VPN client
macOS also has a VPN client in System Settings. It supports IKEv2, L2TP over IPSec and Cisco IPSec. However, it has no servers of its own, so you still need a VPN provider or a work network to connect to. It also doesn't support WireGuard or OpenVPN, the protocols most VPN services use today.
Here's how the three options compare side by side.
So Private Relay is a nice extra if you only browse in Safari. The built-in client suits a work VPN. For everything else, from public Wi-Fi to choosing a server location, you need a VPN for Mac with its own app.
Five VPNs for Mac, picked by what you need
Every VPN below has a native macOS app. Each one also has a clear strength, so start with the pick that matches how you use your Mac. We ranked them on price first, comparing yearly plan with yearly plan and monthly plan with monthly plan. Privacy came next, meaning an audited no-log policy and how little each company asks for at sign-up. Prices are from October 2026 and change with promotions. Our comparison page also has a feature-by-feature view.
Lowest price: Atomic VPN
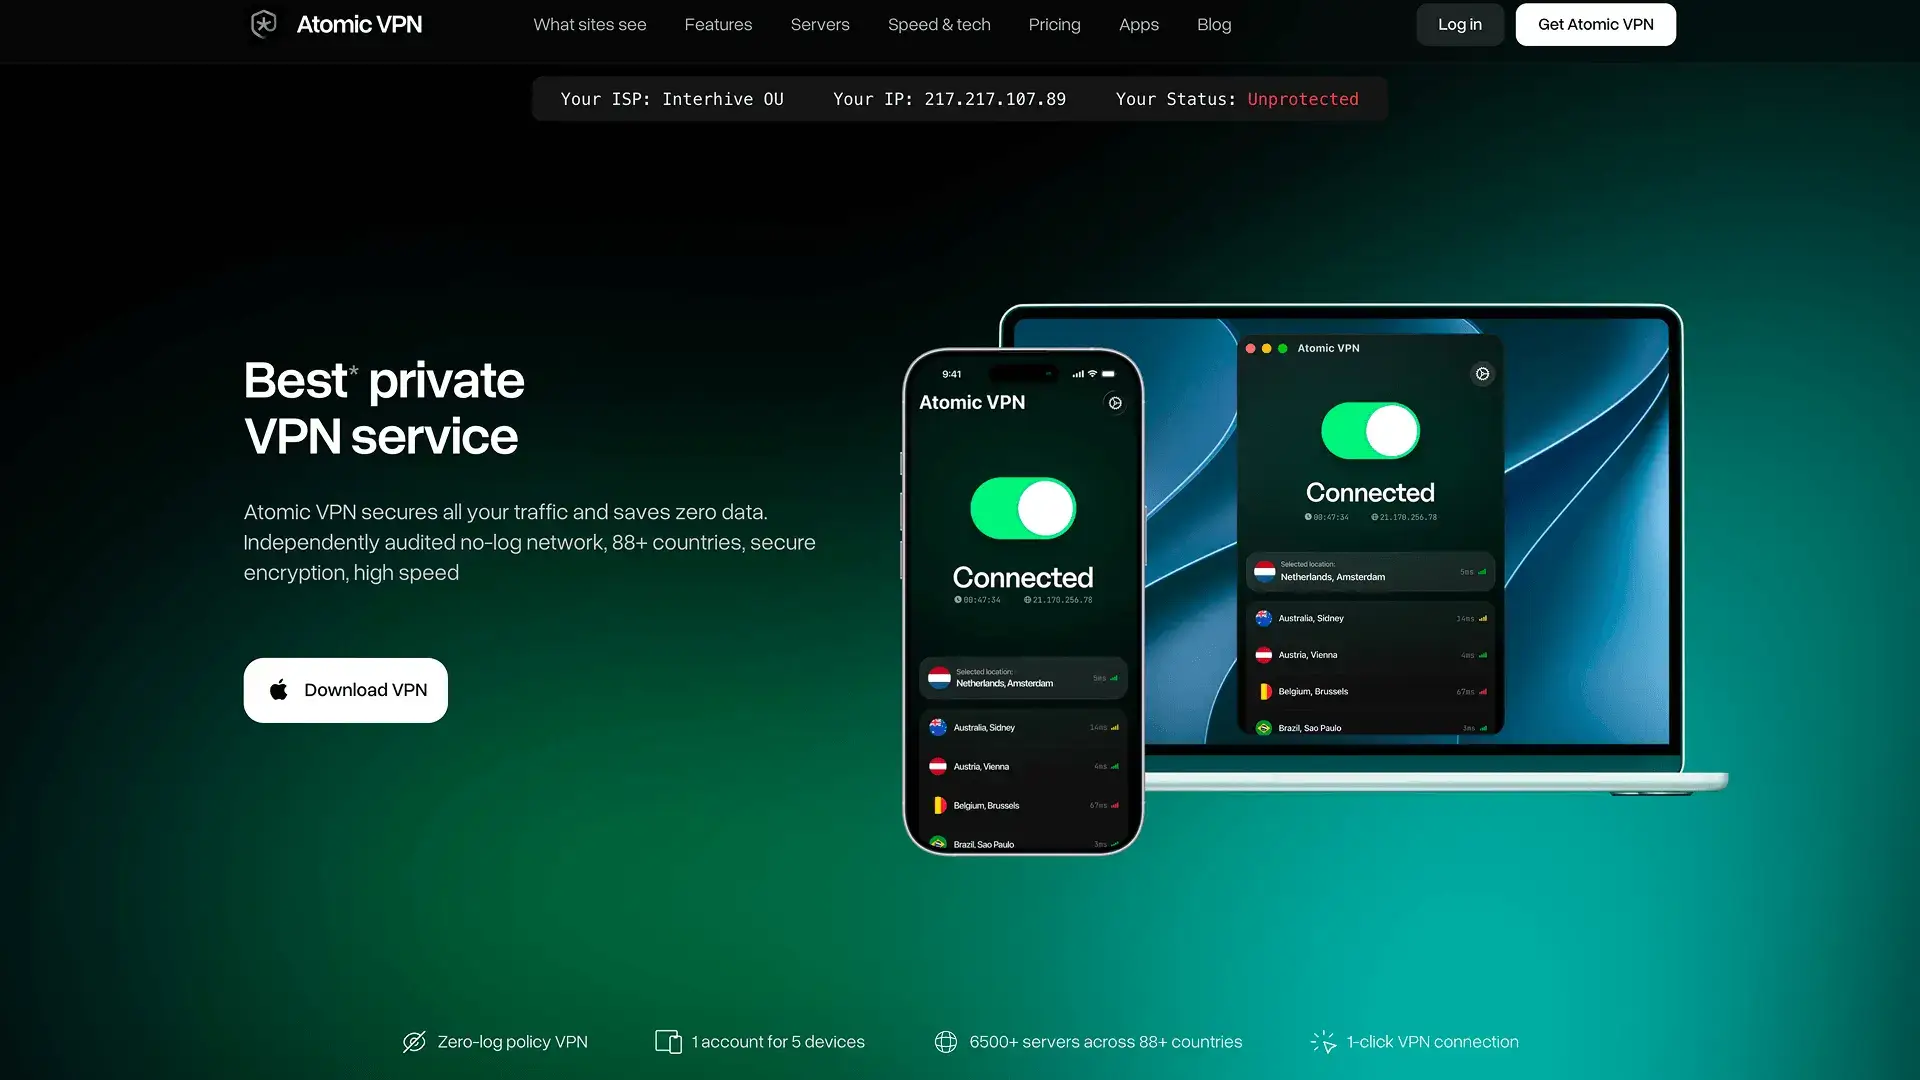
Atomic VPN is the best VPN for Mac if you want every feature at the lowest price here. It costs $2 a month on the yearly plan (billed $24 once a year) or $5.99 month to month. Also, the same features come with every plan.
You download the app straight from the Atomic VPN site. It runs on Apple Silicon and Intel Macs and works on all current macOS versions. It connects over WireGuard by default, with OpenVPN and IKEv2 as backups. On a 1 Gbps line to a same-city server, WireGuard reaches about 890 Mbps. A kill switch and split tunneling come built in.
On a MacBook, the app reconnects in about 0.2 seconds when you move from one network to another. It also turns itself on when you join an unfamiliar Wi-Fi network, such as at a cafe or an airport.
Atomic VPN doesn't log what you do online. An independent audit has checked that claim. Servers run in RAM only, so a reboot wipes them. Signing up takes just an email and a payment method. Crypto payments in BTC, XMR or USDT work too.
One plan covers 5 devices at once. A router setup also covers every device at home without using a slot.
Most devices: Surfshark
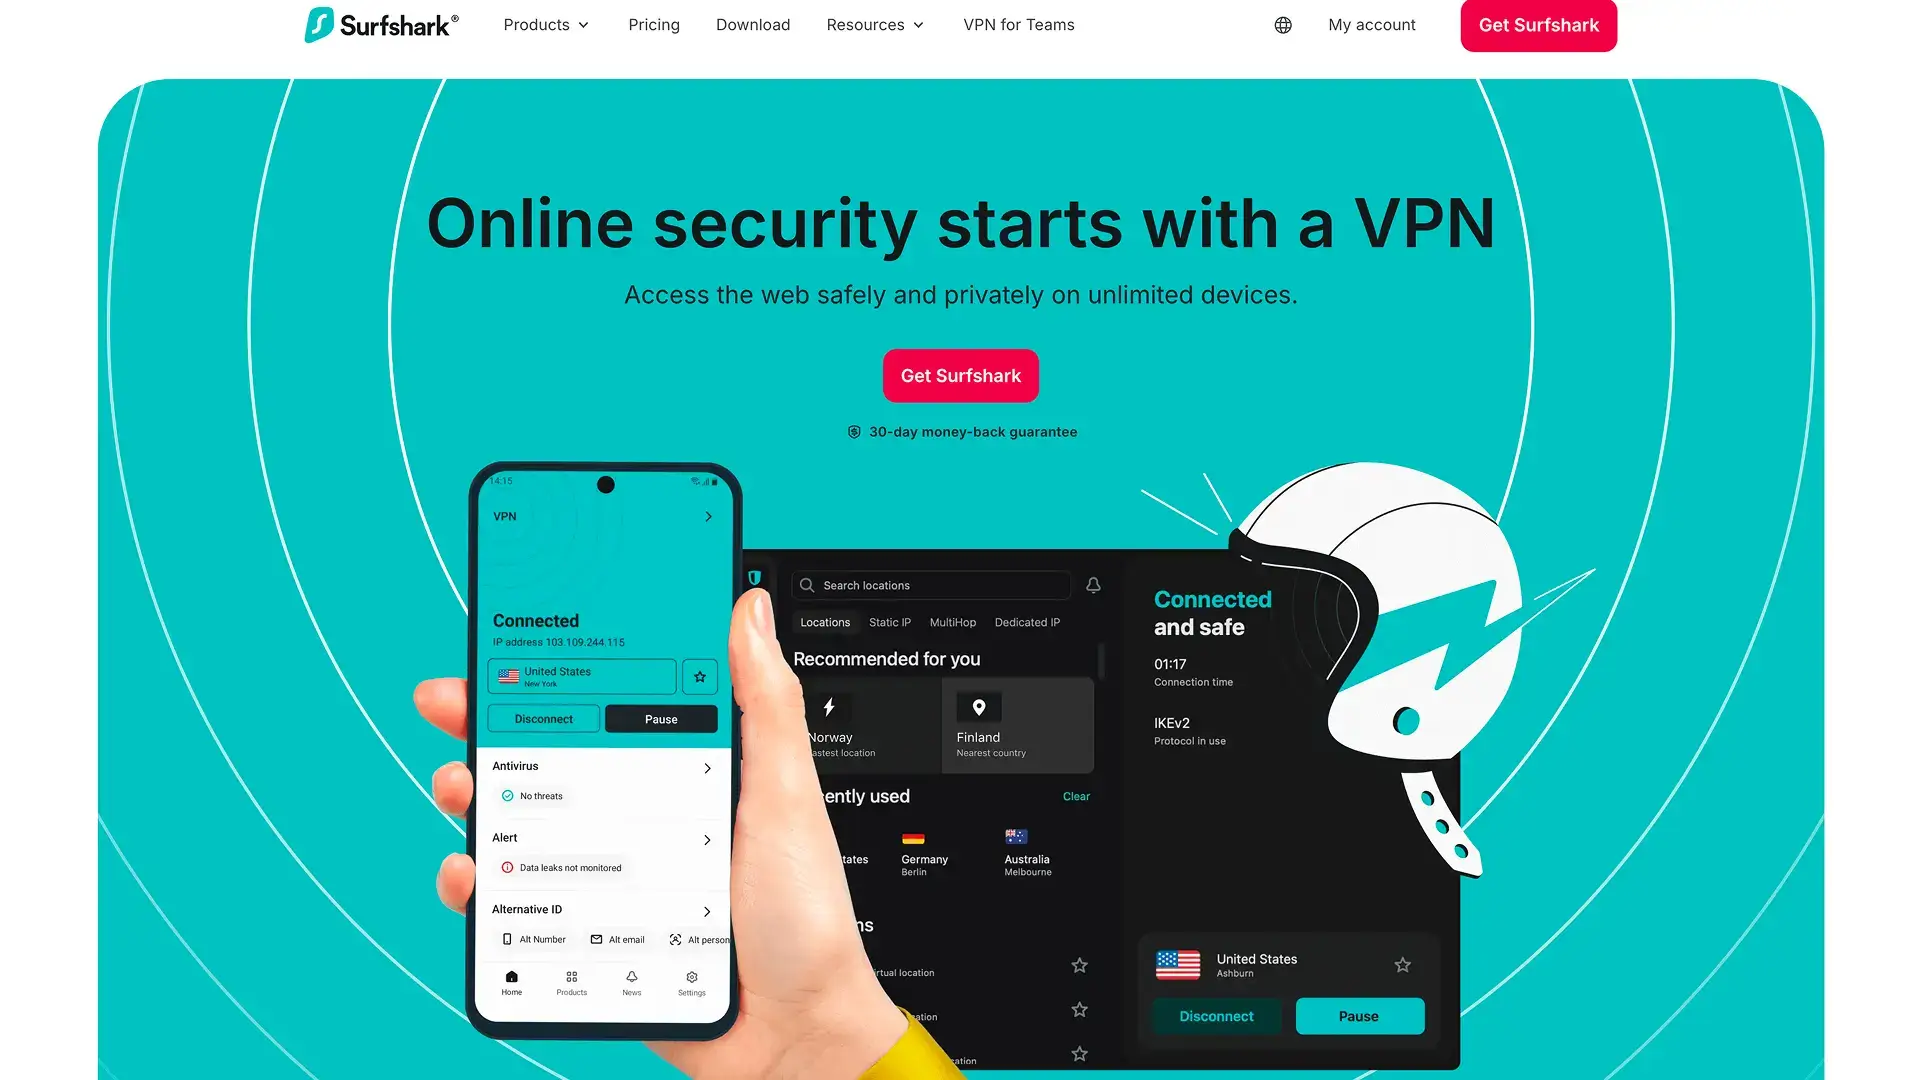
Surfshark's big draw is that one plan covers unlimited devices. Its Starter plan costs about $3.39 a month on a yearly plan and about $16 month to month, the steepest monthly price in this group. After the first term, it renews at a higher yearly price.
Every tier includes CleanWeb, which blocks ads and trackers. You also get Dynamic MultiHop, which chains two servers together for extra privacy. Surfshark's no-log policy has been independently audited. Plans also come with a 30-day money-back guarantee.
Surfshark suits households with lots of Macs, iPhones and other devices on one account.
Privacy first: Proton VPN
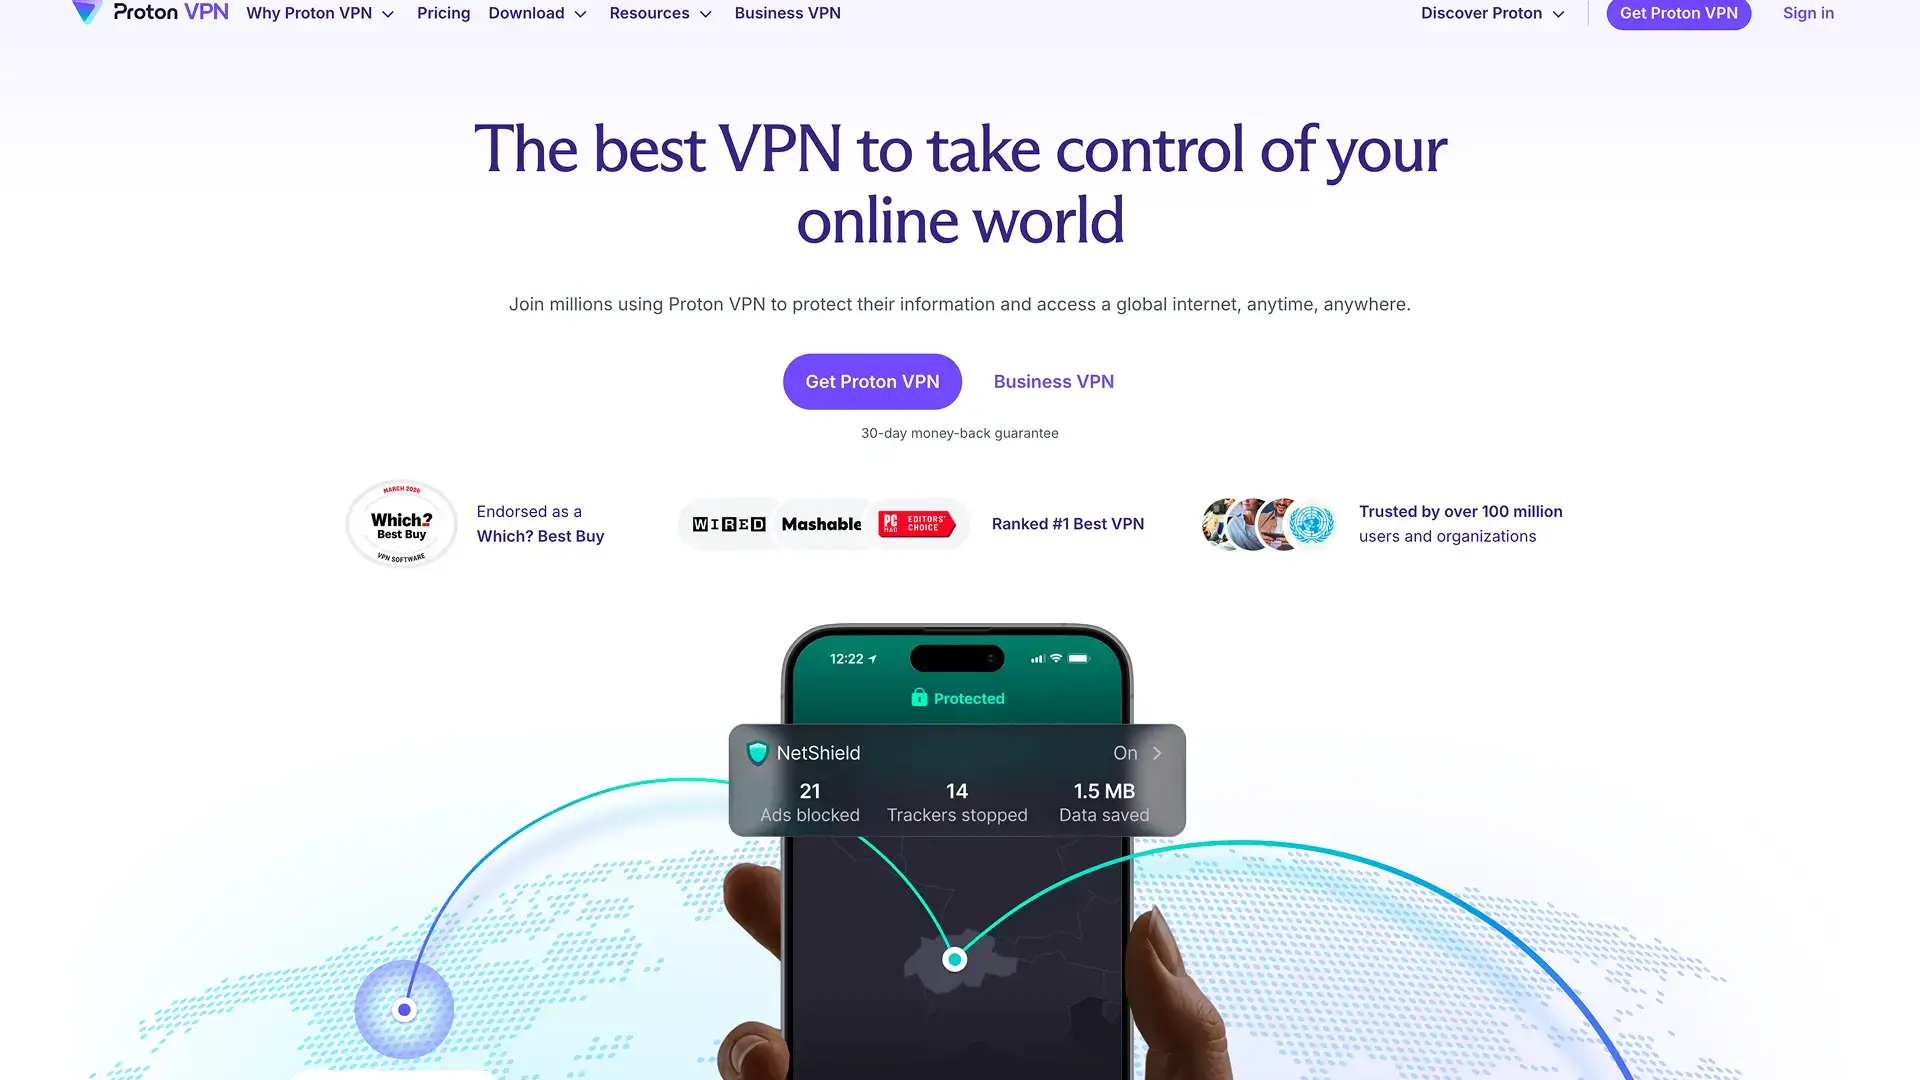
Proton VPN comes from the Swiss company behind Proton Mail. So it's a natural fit if you already use Proton's apps on your Mac. Paid plans cost about $4 a month on a yearly plan and $9.99 month to month. They cover 10 devices.
Paid plans include Secure Core, which sends your traffic through an extra server in a privacy-friendly country first. They also include NetShield, which blocks ads, trackers and known malware domains. Proton's apps are open source, so anyone can review the code. Its no-log policy has been audited too.
Proton VPN suits Mac users who care most about privacy and transparency.
Pay per location: Windscribe

Windscribe's Pro plan costs $69 a year, about $5.75 a month. Paying month to month costs $9. Like Surfshark, it covers unlimited devices.
Its standout is flexibility. Instead of Pro, you can build a plan from just the server locations you need, at $1 per location with a $3 minimum. Pro also includes R.O.B.E.R.T., a blocker you can set to filter ads, trackers and malware domains. The company is based in Canada.
Windscribe suits Mac users who want to pay only for the locations they actually use.
Most extras: NordVPN

NordVPN is TechRadar's top pick among all VPNs and has one of the longest feature lists in the market. Its Basic plan costs $5.49 a month for the first year (billed $65.88) and $14.99 month to month. After that first year, the yearly plan renews at $139.08.
On a Mac, it runs on NordLynx, its own protocol built on WireGuard. Higher tiers add a password manager, extra malware protection and encrypted cloud storage. NordVPN also uses RAM-only servers and covers 10 devices.
NordVPN suits Mac users who want every extra and are fine with a higher price at renewal.
Mac details that separate a good VPN from a bad one
Most VPN reviews compare server counts. On a Mac, a few smaller details decide whether the app feels native or gets in your way.
Apple Silicon support
Every Mac Apple sells today runs on an Apple Silicon chip. A VPN app built for them runs faster and uses less battery than one made only for older Intel chips. So check that the app runs natively on your chip before you buy.
How it handles a MacBook on the move
A MacBook sleeps, wakes and switches between home Wi-Fi, a phone hotspot and hotel networks all day. A good app reconnects on its own each time. Meanwhile, a kill switch blocks traffic until the tunnel comes back. Auto-connect on unfamiliar Wi-Fi closes the last gap, because the VPN starts before you open anything on a public network.
Menu bar control
A good Mac VPN lives in the menu bar. You can connect, disconnect or switch servers from there without opening a full window, which matters when you toggle the VPN several times a day.
Your local network
Some VPNs cut off devices on your home network, like printers or AirPlay speakers. Split tunneling fixes that. You keep those apps on your normal connection while your browser uses the VPN.
Where you download it
You can get a VPN from the App Store or from the provider's own site. Both are fine, as long as you use the provider's official site. Avoid mirrors and third-party download pages, which can bundle unwanted software.
Devices and price
A Mac, an iPhone and an iPad already take three slots on most plans, so check the device limit. Then compare prices on the plan length you'll actually use and check whether the no-log policy has been audited.
Here's the short version as a checklist.
How to set up a VPN on your Mac
Even the best VPN for Mac needs a few minutes of setup. For iPhones, routers and other devices, see our guide to setting up a VPN.
With a VPN app
- Download the app from your provider's official site, such as Atomic VPN for Mac.
- Then open the downloaded file and follow the installer.
- Next, sign in. If macOS asks whether the app can add VPN configurations, click Allow. Without it, the VPN can't connect.
- Pick a server (a nearby one is fastest) and connect.
- Finally, search "what is my IP" to check that sites now see the server's location.
If your app can connect on its own on unfamiliar Wi-Fi, turn that on in its settings. That way the VPN starts before you open anything on a hotel or airport network.
Manually with IKEv2
Use this route only if your provider or employer gives you IKEv2 settings. If you have a choice of type, pick IKEv2 over L2TP. It reconnects quickly when your Mac wakes from sleep or changes networks.
- First, open the Apple menu, choose System Settings and click VPN in the sidebar.
- Click Add VPN Configuration, then choose IKEv2.
- Enter a display name, the server address and the remote ID your provider gave you.
- Choose how you sign in, such as a username and password, then click Create.
- Turn the new connection on with the switch next to its name.
Quick fixes if it won't connect
Even a good VPN for Mac can fail to connect now and then. These are the usual causes and fixes.
If a network keeps blocking the VPN, our VPN unblock guide goes deeper. For the same setup on a PC, see our guide to the best VPN for Windows.
If you want a VPN for Mac that wins on price and privacy, you can have Atomic VPN running on your Mac in a few minutes.